
Troubleshooting · Ad
Gravity water filter leaks and overflows: finding the cause
Find whether a gravity filter is dripping at the tap, leaking at a fitting, overflowing at the joint or bypassing a candle seal. Includes safe checks and matched parts.
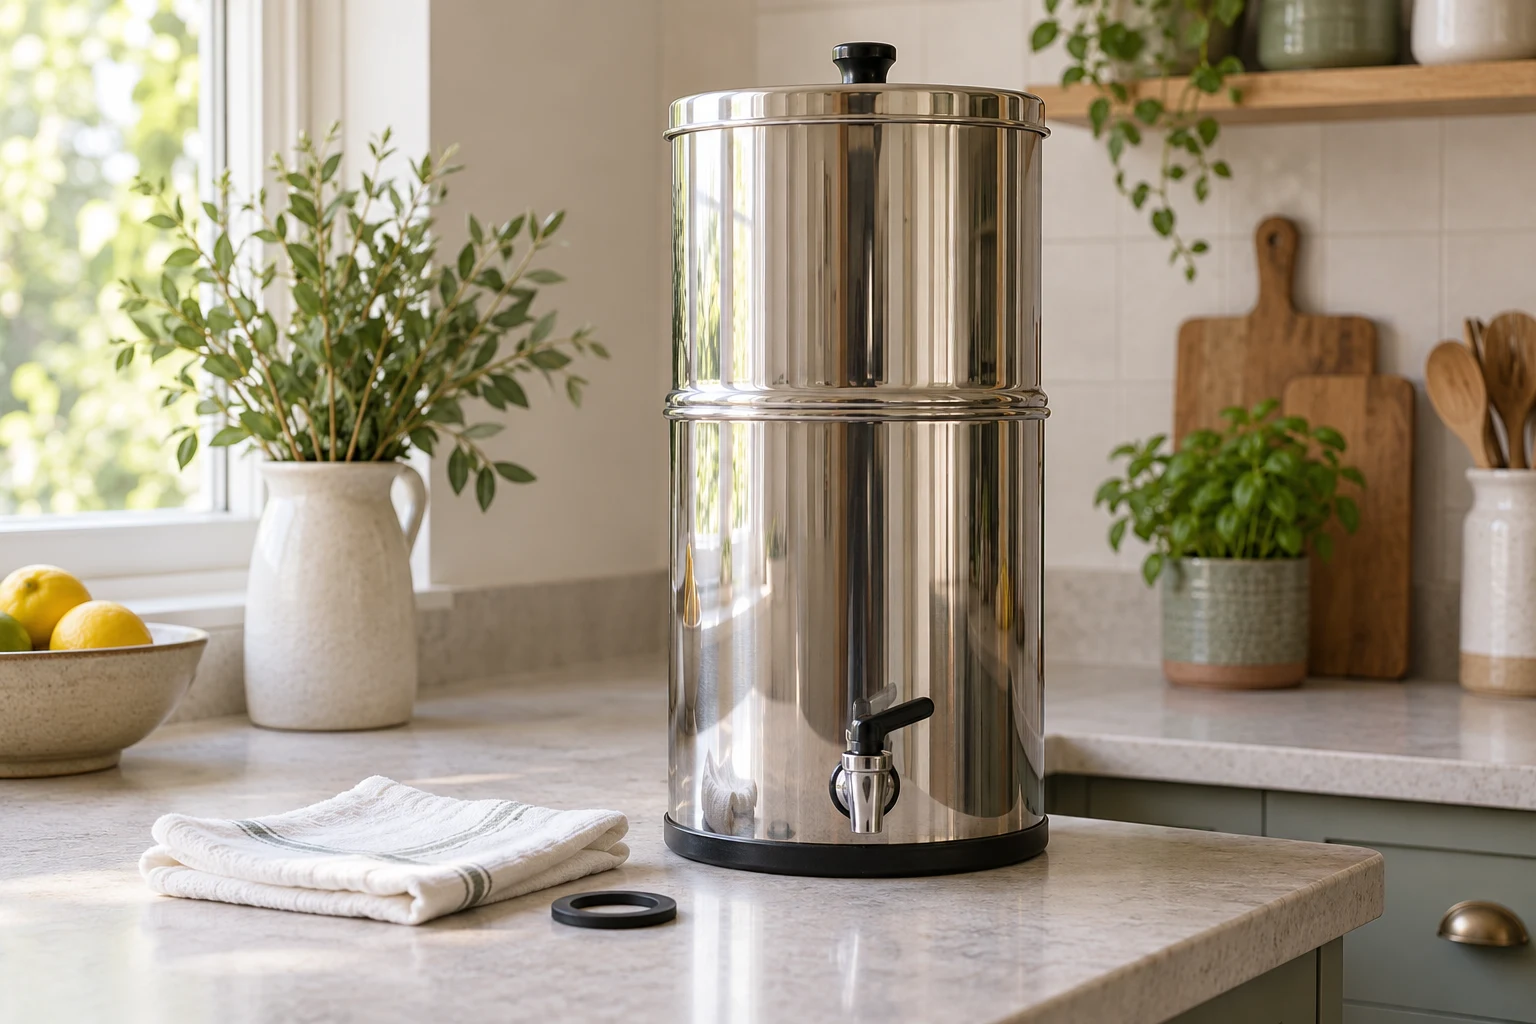
Stop adding water and locate where it first appears
A gravity-filter puddle can come from a filling spill, the dispensing outlet, the tap connection through the lower chamber, or overflow at the joint between chambers. Those causes need different responses. Start with the location rather than turning every nut tighter.
Stop refilling and protect nearby surfaces. Close the outlet where appropriate and empty the system safely before dismantling or adjusting fittings. Do not tilt a full tank to reach the internal nut or lift an upper chamber full of water and exposed candles over the clean reservoir.
Dry the outside with a clean cloth so a fresh wet patch can be traced. Consider whether water was just poured down the exterior. The manufacturer warns that untreated-water spills can contaminate the lower side; wiping the floor is not the only issue if the spill reached the storage area.
| Location or symptom | Likely check |
|---|---|
| Outlet drips when closed | Tap valve operation or damage |
| Wet around the tap hole | Washer order, seating, debris or damaged fittings |
| Water at the chamber joint | Lower reservoir room and continued inflow |
| Wet only after refilling | External spill and clean-side contamination |
| Unusually fast filling without a puddle | Candle seal, mount or unblanked position |
These are diagnostic starting points, not proof of one fault. If you cannot identify the source or the water path has been compromised, keep the system out of ordinary drinking-water use until the correct assembly and cleaning routine are restored.
A wet nesting joint can be an overfilled lower chamber
The top chamber can look empty while the lower chamber still holds a substantial volume. Refilling the top again sends additional water into that remaining storage. If the incoming amount exceeds the space below, the lower reservoir can overflow at the point where the chambers meet.
Doulton’s flow guidance explicitly reminds users to consume water from the bottom chamber to avoid overflow while keeping the top replenished. More upper water may increase flow, but it does not create more room below. Check both parts of the system rather than treating the visible top level as a refill indicator.
Use a conservative refill routine: dispense enough stored water first, then add only an amount the lower space can accept, including any water still waiting above. Do not assume a float valve, automatic stop or equal chamber capacities unless your exact system provides and documents it.
Do not seal the nesting rim, tape the chambers together or drill a hole to work around an overflow. Those actions do not correct the amount of water being introduced and can change the supported arrangement. Empty, clean any affected lower surfaces and correct the refill routine before restarting.
Distinguish a dripping outlet from a leaking tap fitting
A drip emerging from the spout when it should be closed concerns the valve or its operation. Wetness around the hole through the steel wall concerns the mounting assembly and seals. Cleaning the ceramic candles will not automatically solve either symptom.
With the lower chamber empty, check the tap’s correct fittings and instructions. The standard SS2 arrangement uses a washer outside the wall and one inside with its retaining nut. A separately purchased steel tap can have its own supplied assembly; do not combine washers and tightening movements from different versions without checking.
Inspect for a folded or displaced washer, trapped dirt, cracking, damaged threads or a distorted part. Reseat only as the instructions permit. Avoid improvised adhesives, extra spacers or excessive tightening intended to make the wrong components fit.
British Berkefeld stainless-steel gravity tap
The named British Berkefeld steel replacement tap specified for its 6L, 8.5L and 12L stainless gravity vessels.
- Fits
- 6L / 8.5L / 12L
- Excludes
- 1L personal system
Good forA matched tap replacement.
Watch forConfirm seal and fitting contents; no improvised adapters.
Relevant for an identified damaged or unsuitable tap after checking its seals and assembly. It does not change the filtration rate through ceramic candles.
The named British Berkefeld steel tap is a relevant replacement for an identified compatible 6L, 8.5L or 12L vessel when the tap is damaged or replacement is appropriate. Confirm the selected kit contents and required seals. It is not a solution to an overfilled tank and does not increase filtration through the candles.
Check for an internal route around the candles
Some assembly problems do not create visible external leaks. Each candle relies on its correctly seated washer and mount, and unused supported holes require the proper blanking components. An open or badly sealed position can let feed water enter the lower chamber without following the intended ceramic path.
Check this after a candle change, cleaning or a sudden unexplained increase in flow. The outer tank holding water is not an integrity test. Do not accept very fast filling as a successful improvement until the installed grade, number, washers and blanked positions have been checked against the diagram.
If bypass is suspected, discard the affected stored water and follow the housing-cleaning and correct reassembly procedure before use. Take a damaged or suspect candle out of service. Do not attempt to repair a ceramic crack or failed plastic mount with sealant.
British Berkefeld Ultra Sterasyl 8674, two-pack
Two British Berkefeld Ultra Sterasyl ceramic gravity candles, with the documented 8674 identity; a replacement pair for a correctly matched system.
- Identity
- 8674 / W9121226
- Pack
- 2 gravity candles
Good forReplacing a confirmed Ultra Sterasyl pair.
Watch forNot Biotect Ultra; do not mix with Ultra Fluoride.
Choose for the confirmed gravity housing and same-grade configuration. Cleaning may restore flow but does not reset the replacement schedule.
The replacement pair shown is for a confirmed Ultra Sterasyl installation when the candle itself is damaged or due. If your system uses Ultra Fluoride, retain the supported same-grade arrangement instead. Use the Doulton identification directory rather than buying by length alone.
Restart only after the cause and clean-side handling are resolved
Clean the affected chambers and fittings with the candles removed, following the housing care guide. Keep ceramic outlets protected and refit every correct seal. Use the appropriate discard routine for cleaned candles, or full conditioning if replacements have been installed.
Observe a controlled refill and dispensing cycle in a stable, fully supported position. Check the previously wet area and the lower reservoir level. Keep access clear so a glass or bottle does not catch the tap and reopen it accidentally.
If the fault returns, stop guessing and provide the manufacturer with the exact model, tap type, candle grade, installed count and a description of where water first appears. That information is more useful than repeated tightening or purchasing a whole new tank. See assembly steps for the supported starting arrangement.
Common questions
Why does water appear between the two chambers?
Check whether the lower chamber is already full while more water is filtering from above. Overflow is different from a failed tap seal, and the nesting joint should not be improvised into a pressure-tight connection.
Can I fill the upper chamber while water remains below?
Only with enough free lower-tank space for the incoming water. An empty upper tank does not prove that the lower reservoir has emptied.
Should I tighten a leaking tap as hard as possible?
No. Empty the vessel, inspect the correct washer arrangement and follow the tap’s fitting instructions. Excessive force can damage seals, threads or the vessel rather than solve the underlying problem.
Can a candle seal fail without an external leak?
Yes. A missing or incorrectly seated candle washer, damaged mount or open unused position can provide an internal route to the lower chamber. A dry worktop does not prove correct filtration.
Do I need a whole new system for a damaged tap?
Not automatically. A properly matched replacement tap or specified fitting may be the appropriate repair. Confirm the actual fault and model before ordering.
Sources and further reading
- British Berkefeld: stainless-steel gravity system operating and cleaning instructions
- British Berkefeld: exact 8.5L SS2 Ultra Sterasyl system instructions and performance sheet
- Doulton: gravity-filter conditioning, water level, approximate flow and overfill prevention
- British Berkefeld: stainless-steel tap fit for 6L, 8.5L and 12L systems